As a young boy, I stumbled upon my grandfather’s dusty attic. Among the forgotten treasures, I discovered an old wooden box that held a peculiar-looking contraption. A simple wooden box with a tiny hole on one side, it piqued my curiosity. Upon further exploration, I realized it was a pinhole camera, one of the earliest forms of cameras. Filled with wonder, I gazed through the pinhole, and a captivating image appeared before my eyes.

Image: www.schoolphysics.co.uk
This seemingly simple device, armed with nothing more than a tiny hole, sparked a burning desire within me to unlock the secrets behind the formation of an image. Embarking on a journey of discovery, let us unravel the fascinating world of pinhole cameras and their image-forming mechanism.
The Essence of the Pinhole Camera
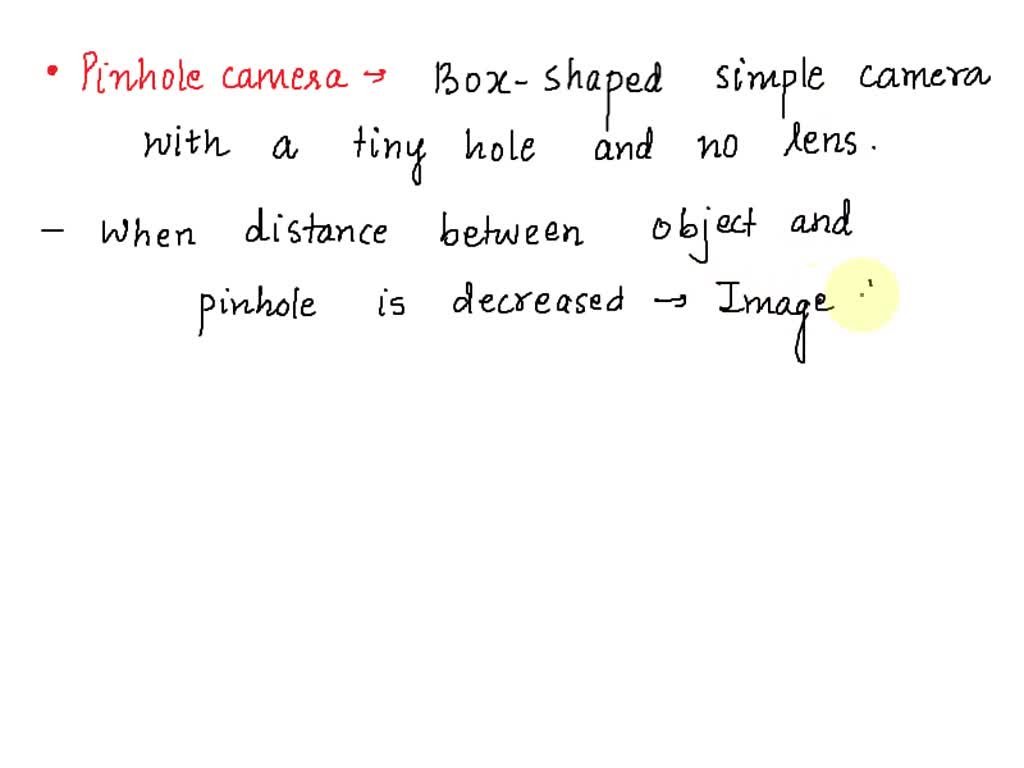
A pinhole camera is an elementary yet ingenious device that captures images without the use of conventional lenses or optical elements. Its primary component is a tiny aperture, typically a small pinhole or a meticulously crafted hole. This aperture plays the crucial role of forming an inverted image on the opposite wall of the camera.
The pinhole acts as both a lens and a shutter, controlling the amount of light entering the camera. When an object is placed in front of the pinhole, light from different points on the object enters the camera through the pinhole and projects an inverted image onto the opposite wall. This phenomenon occurs due to the principle of rectilinear propagation of light, which states that light travels in straight lines unless obstructed or refracted.
The Formation of the Inverted Image
The image formed by a pinhole camera is always inverted. This inversion is inherent to the process due to the straight-line path of light. Light rays from different points on the object pass through the pinhole in a straight path, intersect at corresponding points on the opposite wall, and create an inverted image reversal.
The size and sharpness of the inverted image depend on the size of the pinhole. Using the analogy of a photographic negative, a smaller pinhole produces a sharper but dimmer image, while a larger pinhole results in a brighter but less distinct image. The optimal pinhole size is determined by the desired balance between image sharpness and brightness.
Pinhole Camera in History and Modern Applications
Pinhole cameras have a long and storied history, with evidence of their existence dating back to ancient China. The earliest known application of the pinhole principle is attributed to the Chinese philosopher Mozi in the 5th century BCE. However, it was not until the Renaissance period that pinhole cameras were widely embraced as a tool for drawing and artistic representations.
In the modern era, pinhole cameras continue to fascinate photographers, artists, and scientists. They have found applications in various fields, from art and education to science and engineering. Pinhole photography has become an art form, creating ethereal and unique images that defy conventional photographic techniques.

Image: www.numerade.com
Tips and Advice for Aspiring Pinhole Camera Enthusiasts
For those venturing into the captivating world of pinhole cameras, here are some invaluable tips and expert advice:
1. Choosing the Right Pinhole Size: Experiment with different pinhole sizes (0.2 – 0.5mm) to find the optimal balance between image sharpness and brightness for your desired results.
2. Optimizing Film Placement: Position the film or photosensitive medium at the appropriate distance from the pinhole to ensure a clear and focused image. The distance depends on the size of the pinhole and the desired field of view.
3. Control Exposure Time: Exposure time is critical in pinhole photography. Use longer exposure times (minutes or hours) for dim scenes and shorter durations (seconds) for brighter environments.
Frequently Asked Questions on Pinhole Camera Imaging
Q: What is the primary benefit of using a pinhole camera over a conventional camera with lenses?
A: Pinhole cameras offer a unique perspective and aesthetic characteristics. They create images with inherent distortion and a wide depth of field, leading to dreamlike and artistic results.
Q: How can I construct a simple pinhole camera at home?
A: To make a pinhole camera, you can utilize a light-proof box or container, such as a shoebox or small cardboard box. Create a tiny pinhole on one side of the box, carefully insert a piece of photographic film paper or light-sensitive paper into the box, and secure it opposite the pinhole.
Image Formed By A Pinhole Camera Is
Conclusion
The image formed by a pinhole camera is an inverted projection of the scene in front of the pinhole. This phenomenon is attributed to the rectilinear propagation of light, which enables light rays from different object points to intersect at corresponding points and form an inverted image. Despite their simplicity, pinhole cameras offer a distinct and charming way to capture the world around us, instilling a profound appreciation for the transformative power of light and the timeless principles of optics.
Are you ready to delve deeper into the enchanting realm of pinhole photography, unlocking its secrets and capturing unique, artistic images? Join this captivating journey and witness firsthand the magic created by the tiniest of apertures, where art, science, and imagination converge.